Attaching a file in Outlook on the web
Attaching a file in Outlook from OneDrive
In Outlook there are two seperate ways of attaching a file to an email. You can either Share the file with someone or Attach a copy.
- Go into the Mail app in Office 365 and begin to compose a message.
- Click the attach button.
- Click Cloud Locations.
- Select OneDrive to show your files in your OneDrive.
- Find the file and select the check box next to it
- Press Next at the bottom
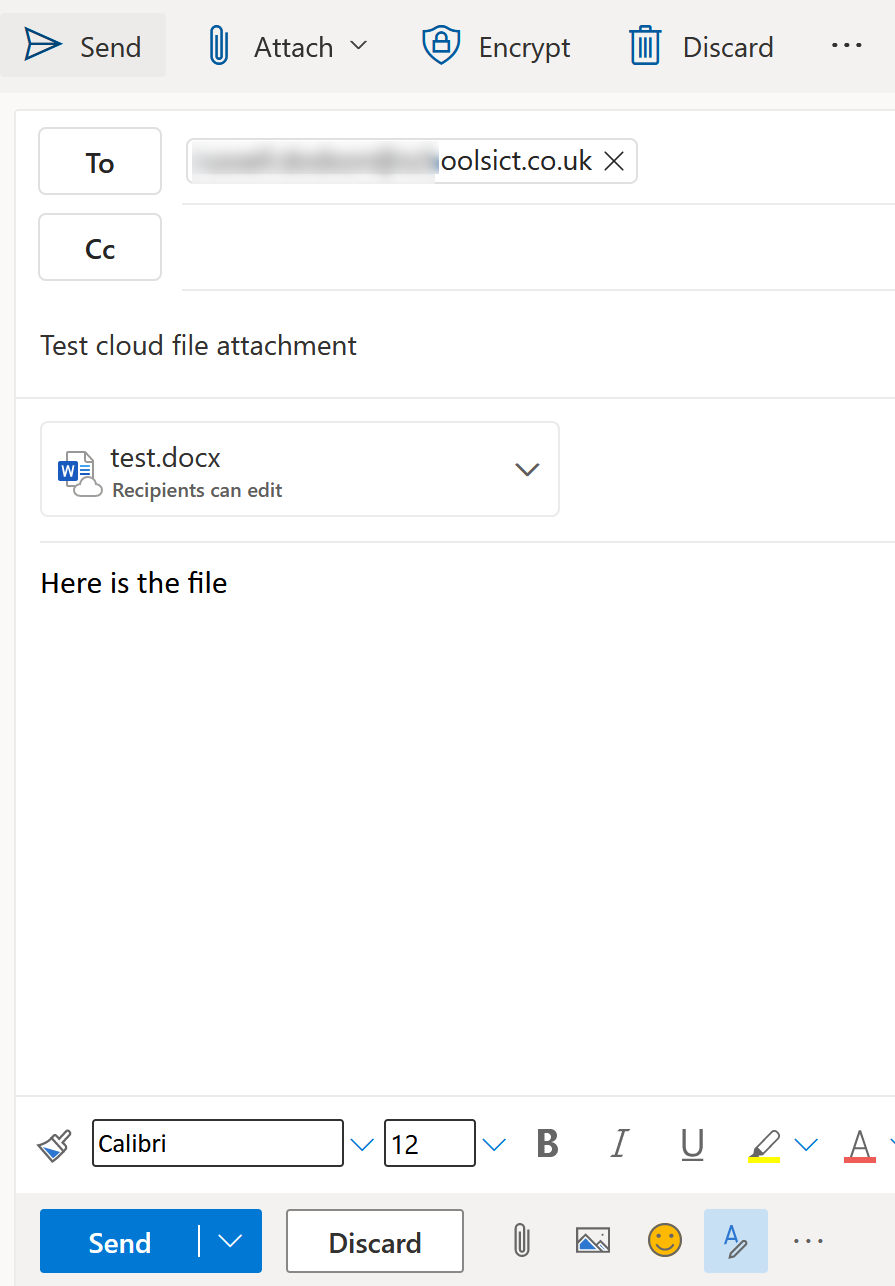
- When you press next, it will prompt you with two choices, either Share as a OneDrive Link or Attach as a copy
- Share as a OneDrive Link will share the file with your recipients, so they can edit the original. You can change permissions before you send it.
- Attach as copy will attach a seperate version of the file that the user will be able to edit but it will not affect the original file.
- Once you have pressed your choice, it will attach the file. The icon on the file will change depending on your choice in step 7
- I you have selected Share as a OneDrive Link, you can click the drop down arrow and select Change Permissions
- Select the permission you want to apply and click OK
- If you want change anything else about your attachment, just click the drop down arrow on the attached file and select how you want to change the attachment.


Share as OneDrive Link
Attach as a copy
Attaching a File in Outlook from Teams or SharePoint
In Outlook there are two separate ways of attaching a file to an email. You can either Share the file with someone or Attach a copy.
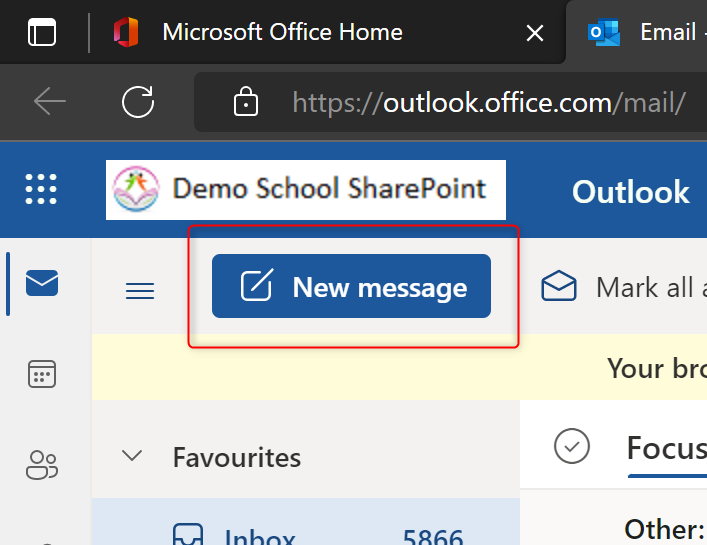
Click New Message in Outlook to start creating a new e-mail
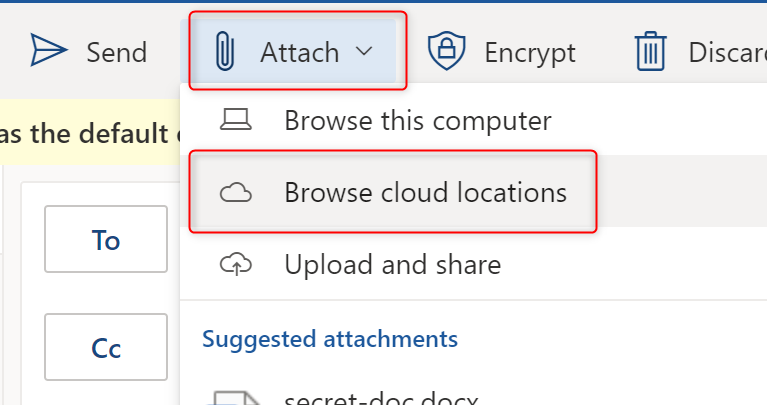
Click Attach > Browse Cloud locations
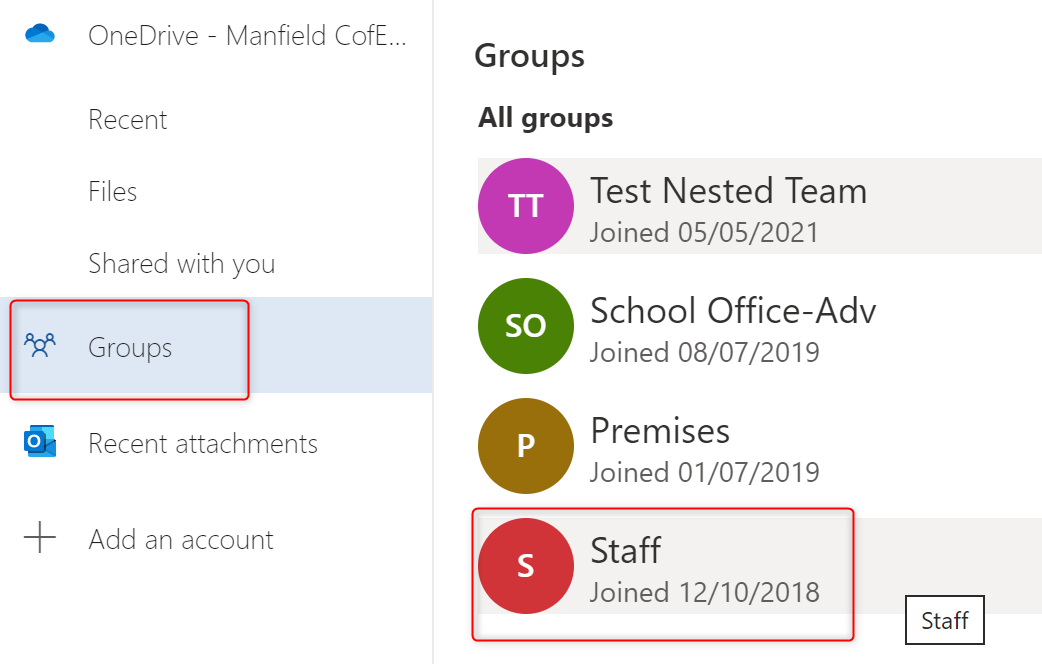
Click Groups
Select the Group (Team or SharePoint site) from where you want to select a file.
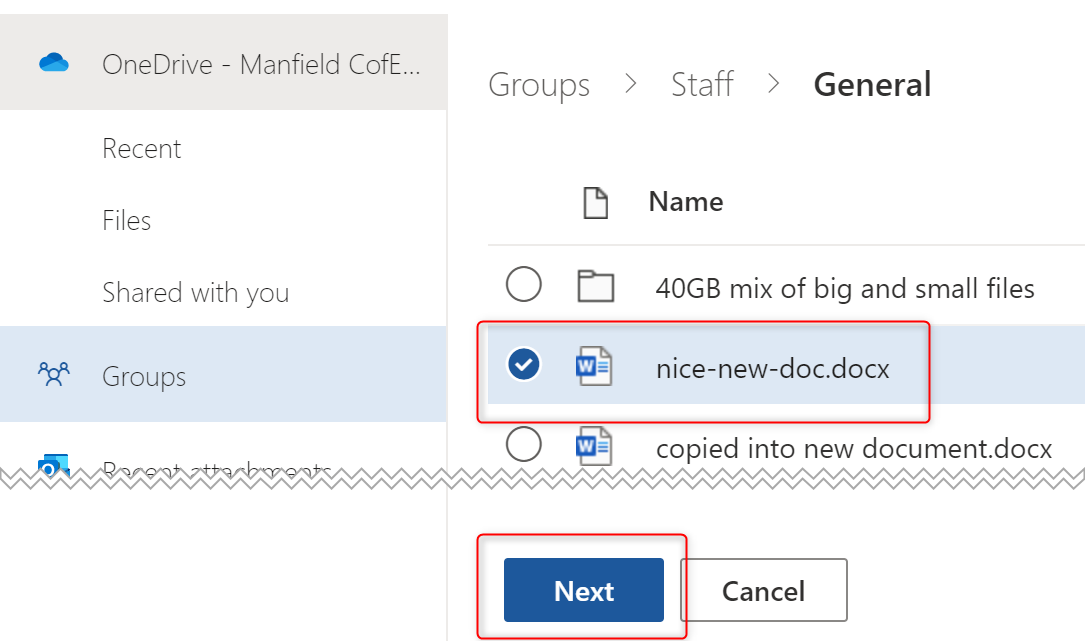
Select the file that you want to attach
Click Next
The file you selected will be attached to the e-mail. By default, this will be a ‘Cloud Attachment’.
If you would rather ‘attach the file as a copy’ (like a traditional e-mail file attachment), then click the drop down arrow on the attached file and click Attach as a Copy
If you choose to just ‘Attach as a Copy’, you can just go ahead with completing your e-mail and send it.
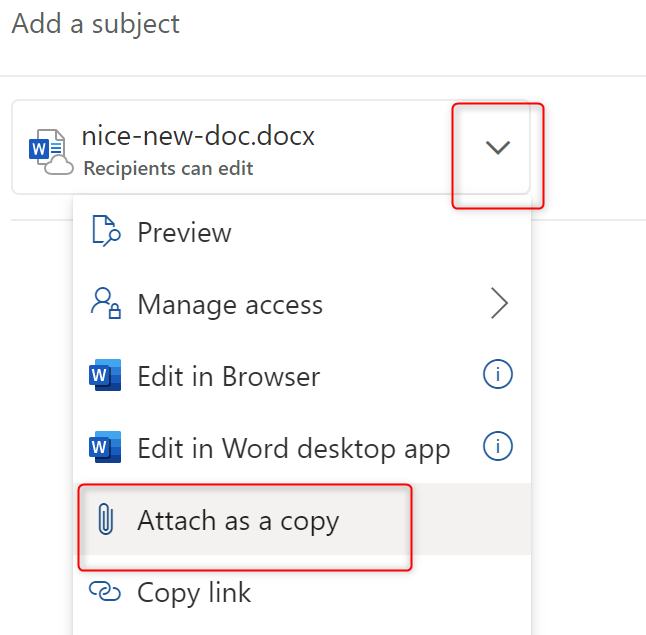
If you stick with the default ‘Cloud Attachment’, so you are sending a link to the original file rather than creating a copy, then you can change the permissions for that link.
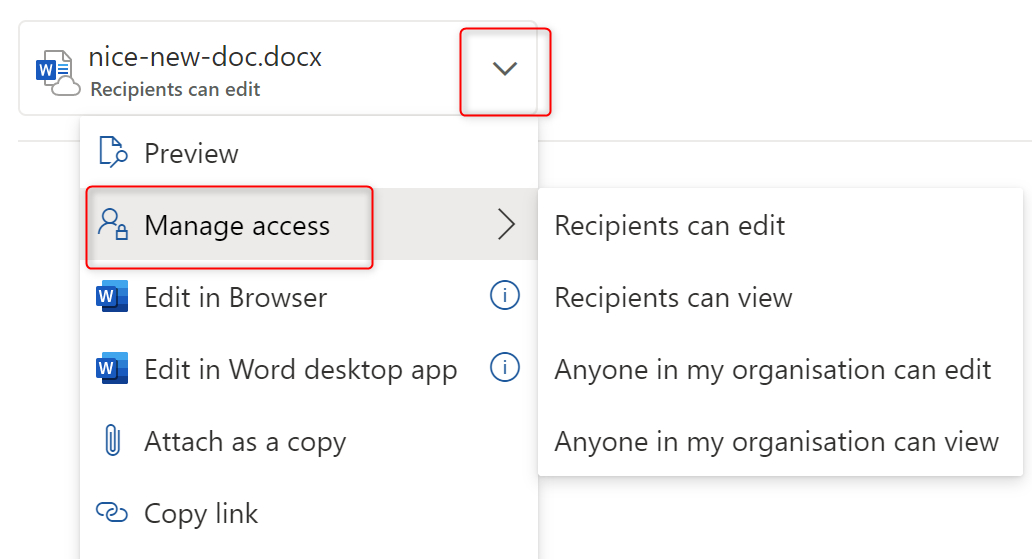
To change the sharing permissions, click the drop-down arrow and click Manage Access
Select the permissions you want to apply
Once you have completed making your choices about how to add your attachment, you can finish completing your e-mail and click Send
